
Do you also wonder what BMX sprocket installation tools you need?
Here’s my quickest answer: In the best-case scenario, you only need a 6mm Allen wrench (Hex key).
Yes, really.
But that’s not the case for me because the sprocket and crank spindle bolts are of different sizes. One is 6mm and one 8mm.

I never understood why BMX brands complicate things, but it is what it is.
Luckily, I always have my trustworthy BMX multi-tool with me, so I always have all the must-have tools at my fingertips.
Note: Check out my list of the essential BMX tools for fixing anything on your bike.
And with the right tools, you can quickly replace the sprocket or fix a loose one.
Besides listing the tools you need, I’ll touch on a few other important topics about BMX sprocket installation so you have everything in one place.
This post covers:
- BMX sprocket installation tools: what you actually need
- Avoid common BMX sprocket installation mistakes
- Conclusion: Use the right tool(s) to install your BMX sprocket correctly!
BMX Sprocket Installation Tools: What You Actually Need
Let’s break down the essentials for installing a sprocket without any headaches.
1. Allen Wrenches
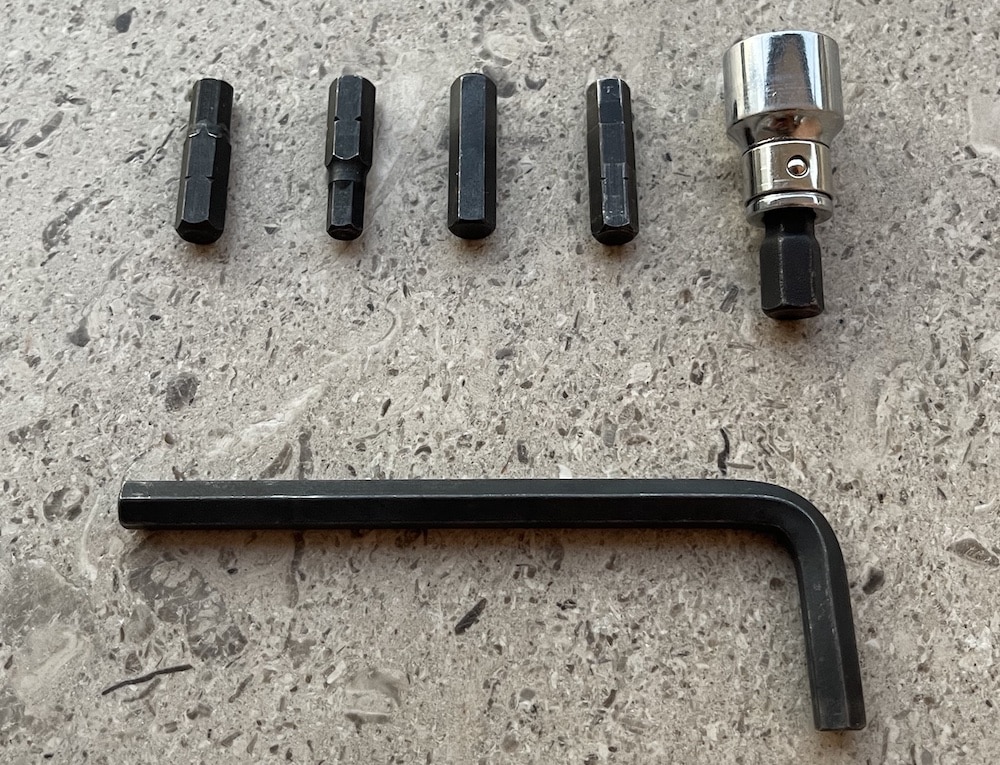 You’ll want a solid 6mm or 8mm set because BMX bikes usually use those sizes for sprocket and crank bolts.
And if you’re lucky, as I mentioned earlier, you’ll only need the 6mm one.
Also, I recommend you get at least a high-quality 6mm Allen key because you’ll use this one a lot.
Cheap wrenches tend to round off bolts, and there’s nothing worse than trying to get a stripped bolt out when all you wanted to do was swap out a sprocket.
Trust me, you don’t want that to happen.
You can get something like the Park Tool Folding Set or the Park Tool L-Shaped Hex Set.
Pro tip: I always carry with me a 6mm Allen key, even if I also carry the multi-tool. Why? It’s just so much quicker to fix something fast.

2. Rubber Mallet
Sometimes, that crank arm is just a little too snug, and that’s when a rubber mallet comes in clutch.
Give it a few gentle taps to get everything seated right without risking scratches or dents.
Plus, it’s kind of satisfying to knock things into place without worrying about damage.
If I don’t have the rubber mallet at hand, I just use my fist. (I might even wrap my fist in some cloth to avoid pain if it’s too tight to remove/add the crank arm.)
Check out the Park Tool Hammer.
3. Grease
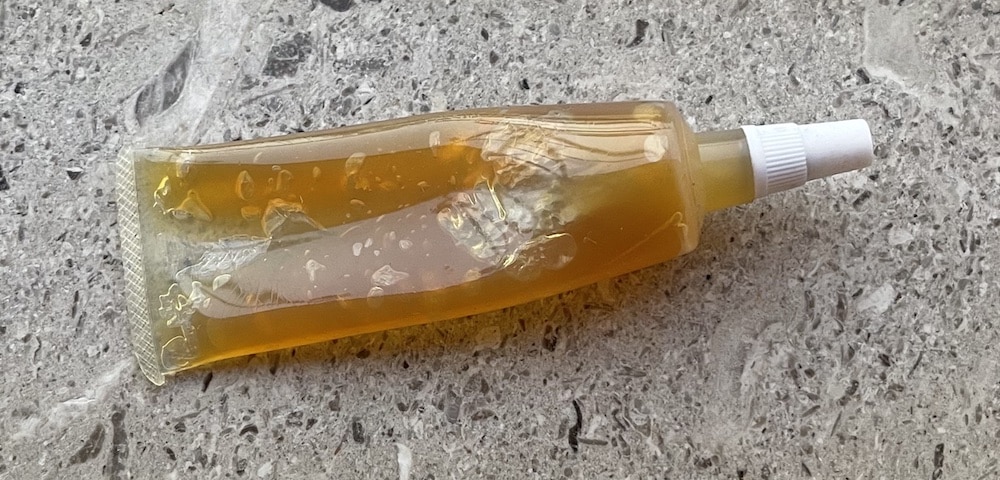
Technically, it’s not a tool, but don’t neglect it!
Adding a thin layer on the spindle, crank arm interface, and sprocket bolt prevents creaking and makes future disassembly much easier.
A little goes a long way, and you’ll thank yourself the next time you take things apart.
If you install it without any grease and it gets a little rusty over time, boy, you’re in trouble. It’s so hard to get it apart then.
4. Chain Tool
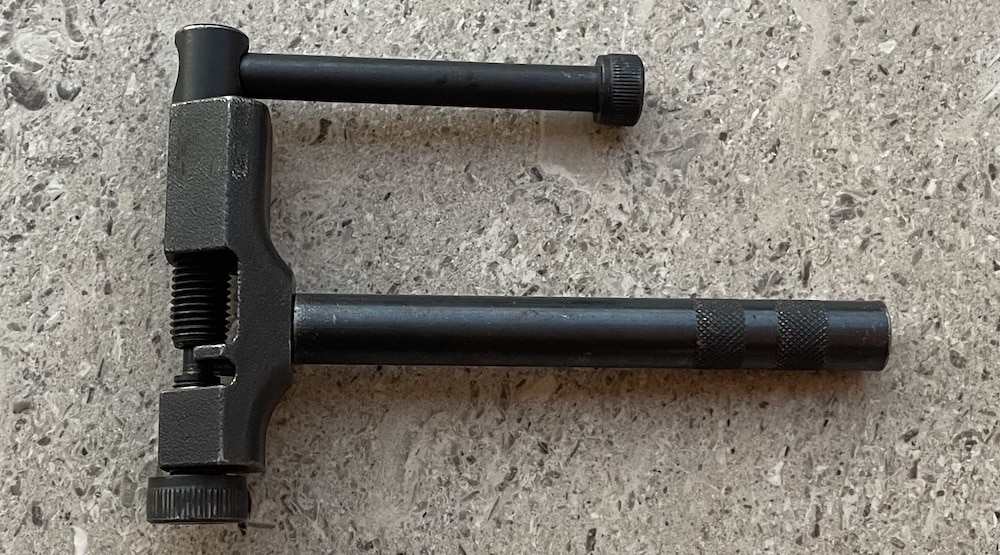
Not everyone will need it, but if you’re going up or down in sprocket size, you’ll likely need to adjust the chain length.
The BMX chain breaker helps you pop the chain link without fuss, and again, it’s a lifesaver if you don’t want to struggle with old-school methods.
What’s best is if you use a multi-tool, the chain breaker comes included.
5. Bottom Bracket Tool
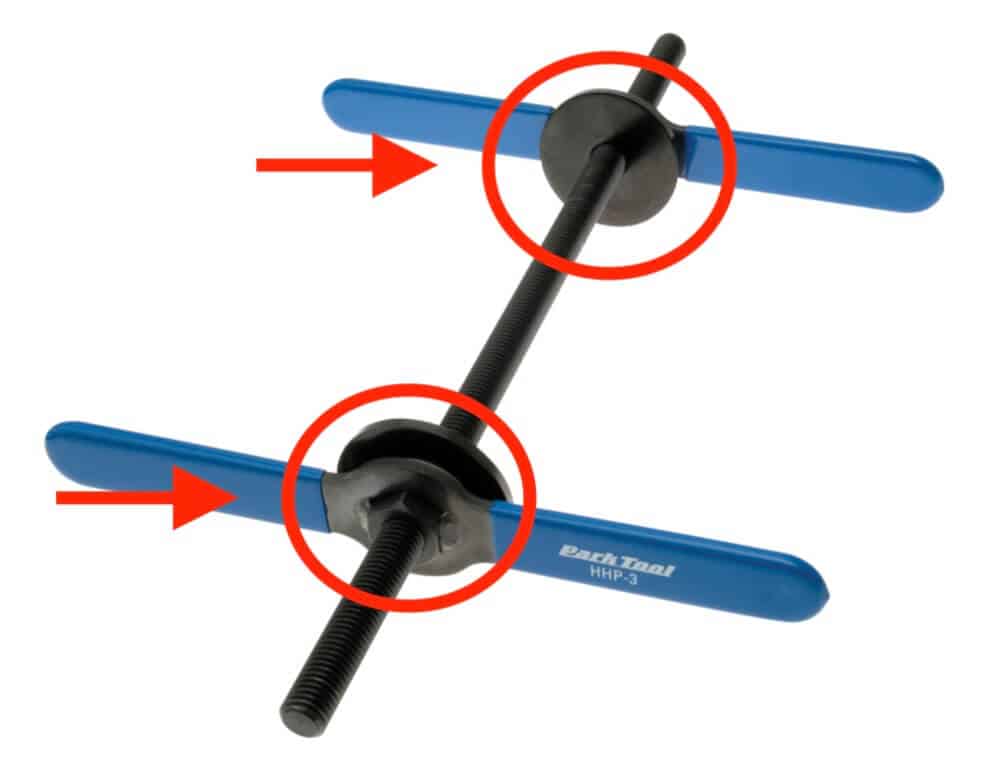
This is an optional one, but you’ll need it if you’re messing around with your bottom bracket while installing a sprocket.
This tool makes it easy to take off or adjust the bottom bracket, and it’s a lot better than trying to improvise with whatever’s lying around.
Yes, I’m talking about smacking it with a hammer.
One of the cheapest solutions is either making it yourself or getting the Rant Fix ‘Em Bottom Bracket Press Tool.
However, I recommend the Park Tool HHP-3 Home Mechanic Bearing Cup Press because it’s much more comfortable and easier to use. Plus, it’ll last you forever.
Avoid Common BMX Sprocket Installation Mistakes
We’ve all been there, thinking we’ve got it perfect, only to find out later that something’s off.
Here’s how to avoid common sprocket installation and tool-related slip-ups.
1. Over-Tightening Bolts
I always thought, “The more I tighten it, the better!”
But in reality, too much force can actually mess things up.
Over-tightening can strip the threads or even snap the bolt; nobody wants that. (This is especially important with lower-quality BMX parts.)
Just get it snug and firm without going overboard.
Pro tip: If you’re worried about loosening, you can add a dab of nail polish to the threads before tightening.
It’s a little trick to keep the bolt in place without going Hulk on it.
2. Skipping The Chain Alignment Check
This one’s huge.
If your BMX chain’s not aligned, you’ll feel it in every pedal.
It’ll make pedaling rough and could even cause premature chain and sprocket wear.
After installing the sprocket, take a second to look down at your chain.
If it’s not running straight, you may need to adjust the sprocket position a bit.
3. Placing The Adapter On The Wrong Side
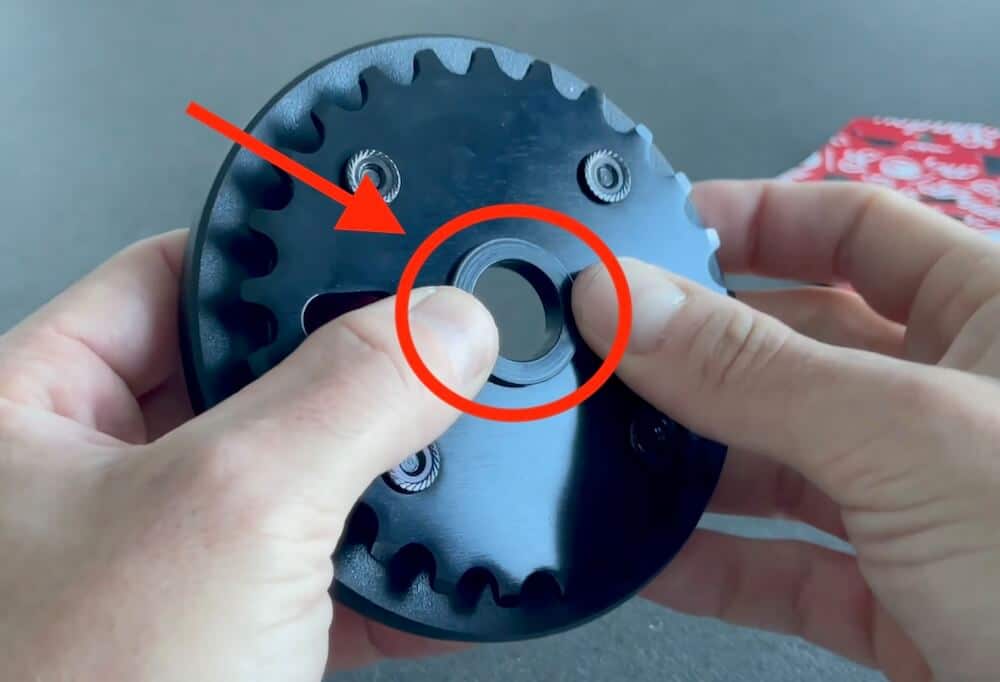
If your setup requires a 19mm or 22mm adapter, ensure it’s placed on the inside of the sprocket, not the outside.
This little detail gets overlooked a lot, but it’s essential for keeping the sprocket aligned.
Pro tip: If you place the adapter on the wrong side and use extra force when tightening the bolt, you can actually damage the sprocket.
4. Not Using Spacers For Chain Alignment
Sometimes, you need extra help to get that perfect chain alignment.
This is where spacers come in. (Those thin ones that come with cranks.)
Don’t skip them if you see a slight misalignment after installing the sprocket.
A small spacer can make a big difference and keep things running smoothly. Just add one or two as needed to get everything lined up perfectly.
Pro tip: You insert the spacers first and then add the sprocket and crank arm.
But I found out that lately, with modern cranks and sprockets, you don’t even need to use spacers anymore.
5. Forgetting The Grease
Honestly, skipping the grease is one of the most common mistakes. Been there (multiple times!).
It seems minor, but it matters.
Grease helps prevent creaks and makes it easier to take things apart later.
Just add a thin layer to the spindle, the crank arm interface, and the sprocket bolt – your future self will thank you.
And lastly, even if you did everything correctly, always check your chain alignment and sprocket positioning one last time before hitting the park.
A few extra seconds can save you from a lot of annoyance on your ride.
There’s nothing worse than getting to the spot only to find out that you didn’t fit things together properly – and you don’t have the right tools with you to sort it out.
Conclusion: Use The Right Tool(s) To Install Your BMX Sprocket Correctly!
In the best-case scenario, a brakeless BMX rider only needs a 6mm Allen and 17mm socket wrench. (And a chain breaker tool.)
How awesome does that sound?
But I strongly recommend purchasing quality tools for smooth BMX sprocket installation.
Pro tip: If you buy quality, they will likely last you a lifetime (and beyond).
To take things to the next level, get a multi-tool, and you’ll always have everything you need and then some with you on every session.
This tool allows you to fix everything on your bike on the spot.
And it can last you for decades!
I still have the Animal Kotulak tool after cca. fifteen years!
Further reading:
- Will a sprocket fit my BMX bike? (how to know)
- Bent BMX sprocket (worth fixing?)
- BMX sprocket maintenance (6 tips!)
- Best BMX sprockets right now


