So you’ve set your sights on mastering the toothpick grind on BMX, huh?
Awesome choice!
It’s a stylish grind that never fails to impress, whether you’re at the skatepark, grinding a flat rail, or at the streets, sending it down a handrail.
But, just like any trick, it requires patience, practice, and the proper guidance.
That’s where my step-by-step guide comes into play.
I will break it down from setup to landing so you can get that toothpick grind dialed in.
Note: Although it’s easier to learn BMX grinds on a ledge, it was much easier for me to learn a toothpick on a rail. But you can still do it on both!
Let’s dive into the details and get you grinding in no time! 🤘
This post covers:
- Why learn toothpick grinds
- How to toothpick grind on a bmx (step-by-step guide)
- Conclusion: master toothpick grinds!
Why Learn Toothpick Grinds
Versatility In Skill Set
Adding the toothpick grind to your repertoire broadens your range of tricks.
A versatile skill set makes you a more accomplished rider, allowing you to ride more skatepark elements and street setups.
Building Confidence
Mastering a new trick, especially one that requires precise balance, like the toothpick grind, can significantly boost your confidence.
This newfound confidence can translate to attempting and mastering even more challenging tricks in the future.
Improving Balance & Control
The toothpick grind emphasizes balance on the front peg while in motion.
Perfecting this move can significantly enhance your overall balance and bike control.
In short, it’s important to get to the point where you’re in control, not the bike.
And toothpick greatly contributes to that.
Personal Satisfaction
Beyond the technical and aesthetic benefits, there’s an undeniable personal satisfaction in learning and landing a new trick.
It’s a testament to your dedication, perseverance, and growth as a rider.
Remember, toothpick grind is an intermediate trick, so landing it is that more satisfactory.
How To Toothpick Grind On A BMX (Step-By-Step Guide)
| Step | Action |
| 1. Safety first | Wear a helmet, knee, shin, elbow pads & gloves |
| 2. Warm-up | Do some smith grinds & nose manuals to prepare |
| 3. Approach & speed | Go at a moderate speed, angle bike towards the rail or ledge |
| 4. Hop & position | Bunny hop & align front peg with the grinding surface |
| 5. Engage the grind | Keep weight on the front peg, grind with control |
| 6. Look ahead | Focus on your direction to maintain balance |
| 7. Disengage & land | Pull off a small nollie to land both wheels smoothly |
| 8. Practice | Repetition is key for smooth & confident grinds |
For a toothpick grind, you’ll need to learn:
- How to bunny hop on a BMX bike
- How to smith grind on a BMX
- And how to nose manual on a bmx
Step 1. Safety First
Always wear appropriate safety gear: helmet, knee, shin and elbow pads and gloves.
Choose a suitable low flat ledge or rail to start with.
However, while I usually recommend learning grinds on ledges, toothpick – as mentioned earlier – is actually easier on rails.
And I find it the easiest to pull it on an up rail – but don’t use the up rail to learn it.
Step 2. Warm-Up
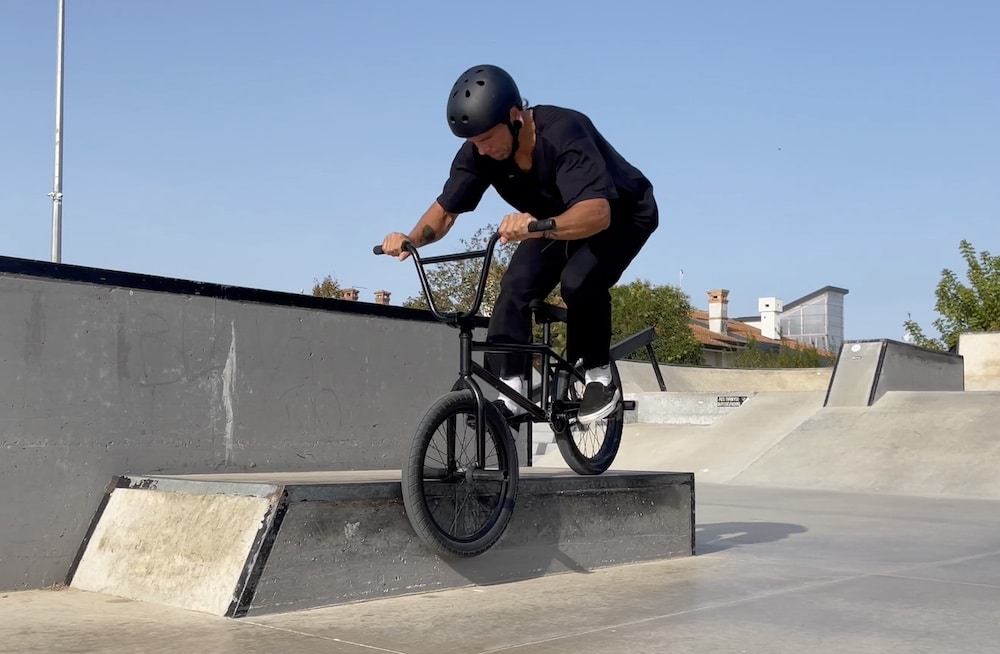
Before attempting the grind, warm up with a few smith grinds and nose manuals.
This helps you get comfortable with balancing on your front peg.
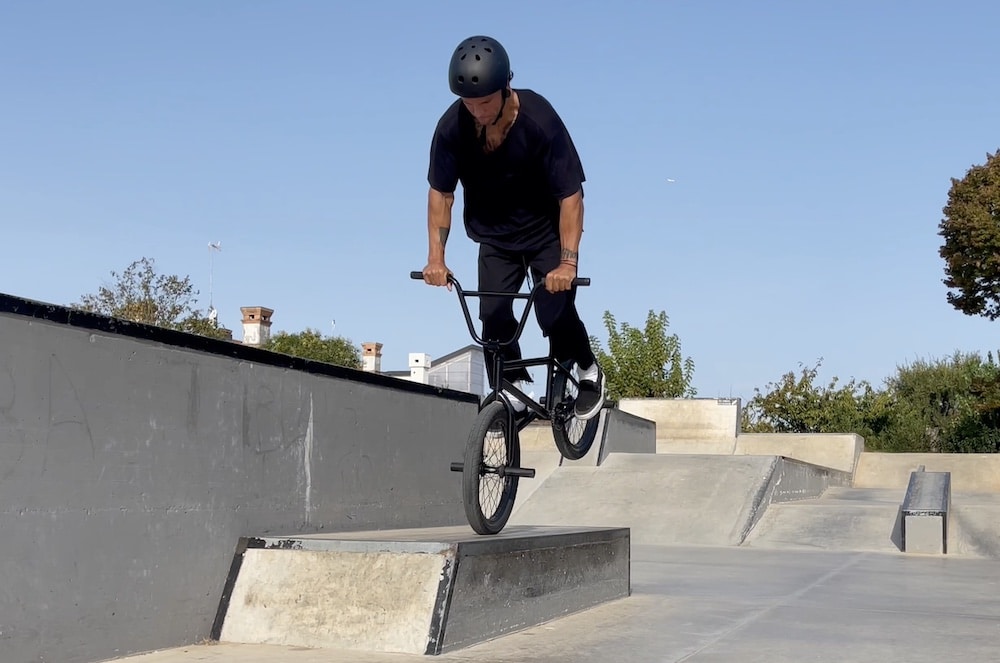
While smith is mandatory, in my opinion, you don’t have to be a master at nose manuals.
Step 3. Approach & Speed
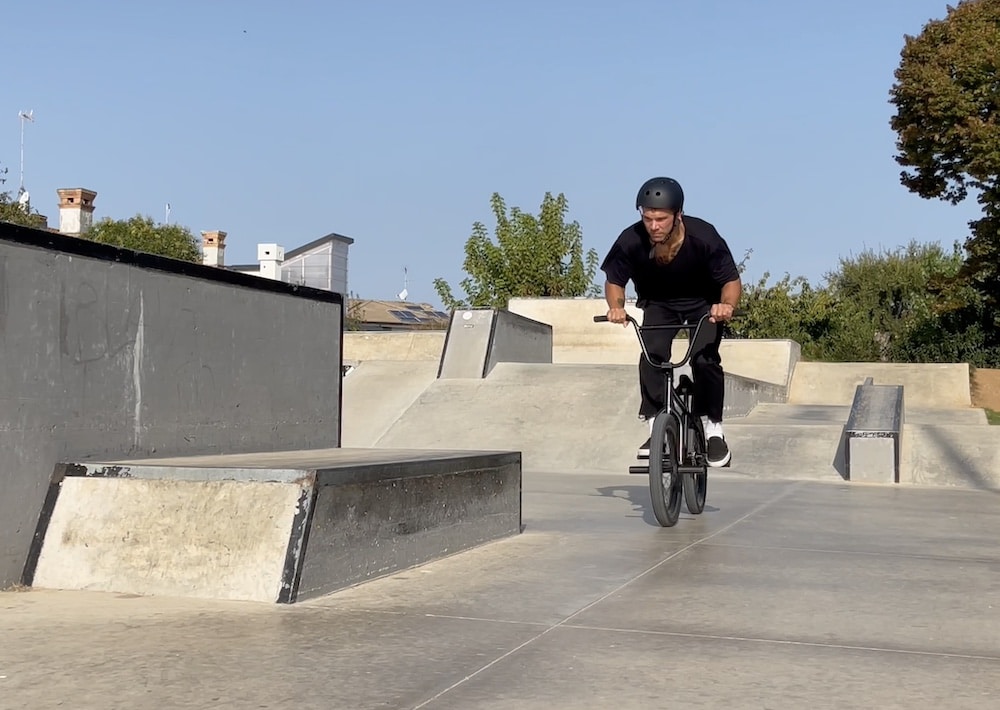
Approach the ledge or rail at a moderate speed. Too slow, and you might not have enough momentum. Too fast, and you could lose control.
Angle your bike slightly towards the object you intend to grind.
Note: It’s perfectly fine if you go very slow at the beginning and perform a “kiss the ledge/rail” than an actual grind.
Hey, you need to start somewhere, and that’s how I started. (See my demonstration above.)
Step 4. Hop & Position
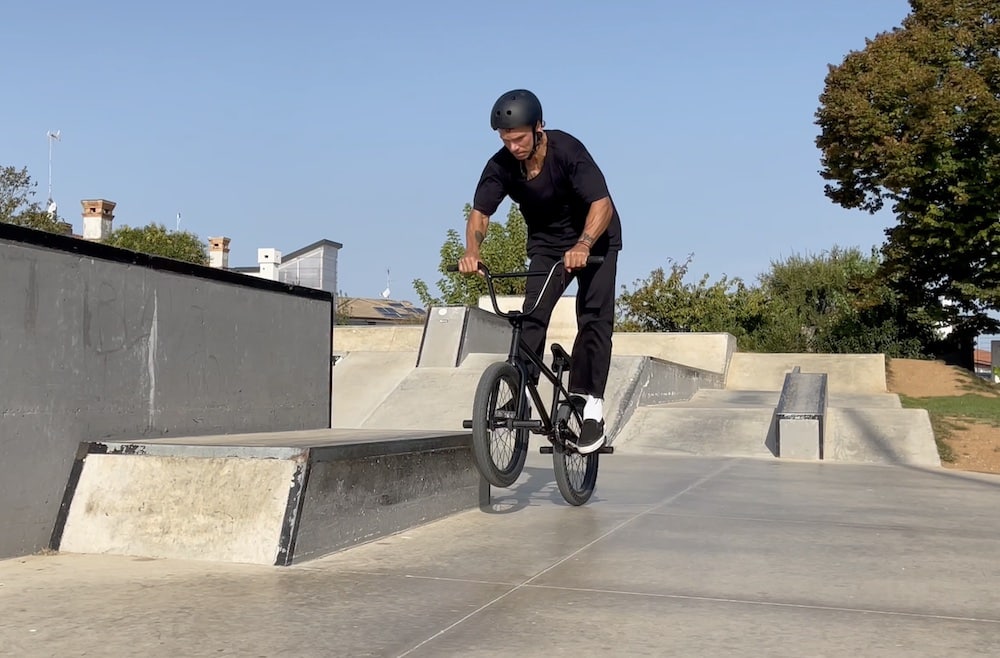
Execute a bunny hop as you get close to the ledge or rail.
While in the air, turn your handlebars towards the grinding surface and position your bike so that only the front peg will contact the edge.
But if you do a toothpick hangover grind, you’ll need to lean forward like doing a nose manual with your rear end going over the ledge/rail.
Step 5. Engage The Grind
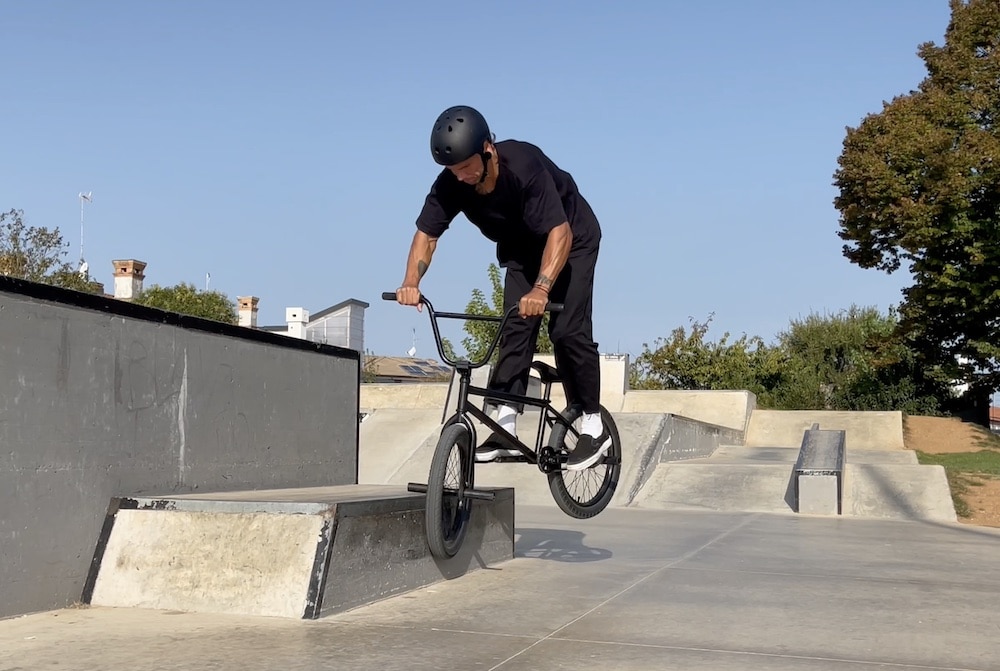
Land with your front peg on the edge of the grinding surface. Apply a bit of downward pressure to ensure a steady grind.
Keep your weight balanced over the front peg, but be ready to shift your weight as needed to maintain balance and control.
Note: Unfortunately, you cannot grind very far if you do a straight toothpick. But it’s possible to do a lengthier toothpick if you do the hangover version.
Step 6. Look Ahead
Keep your eyes forward, looking in the direction you want to travel. This will help you maintain balance and direction throughout the grind.
Note: If looking forward doesn’t work for you, at least look in front of your front wheel.
Step 7. Disengage & Land
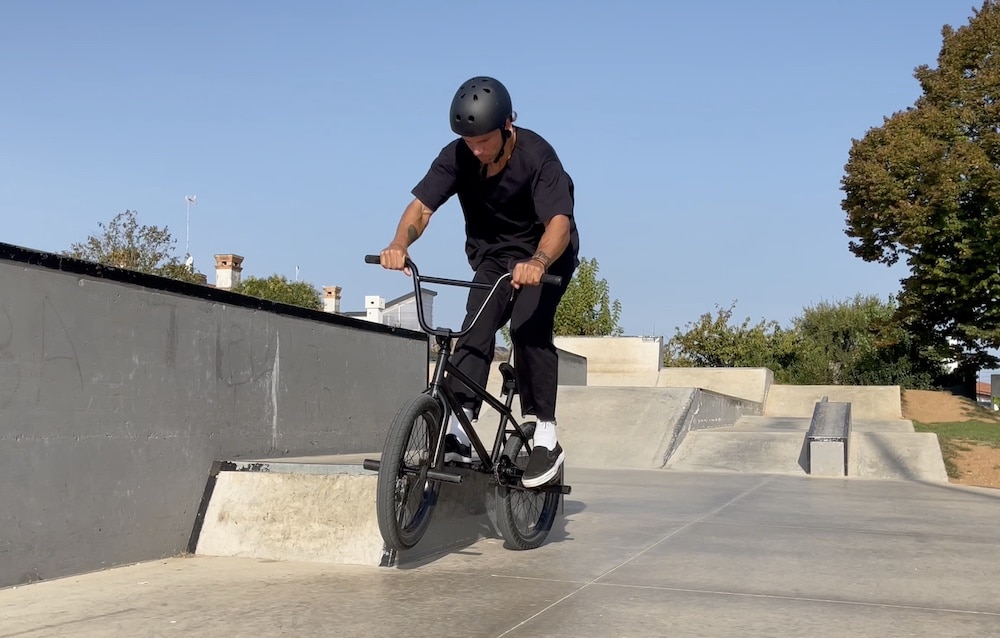
As you reach the end of the grinding surface, or if you feel like you’re losing balance, prepare to disengage.
Turn your handlebars slightly away from the grinding surface and execute a small nollie to clear the ledge or rail.
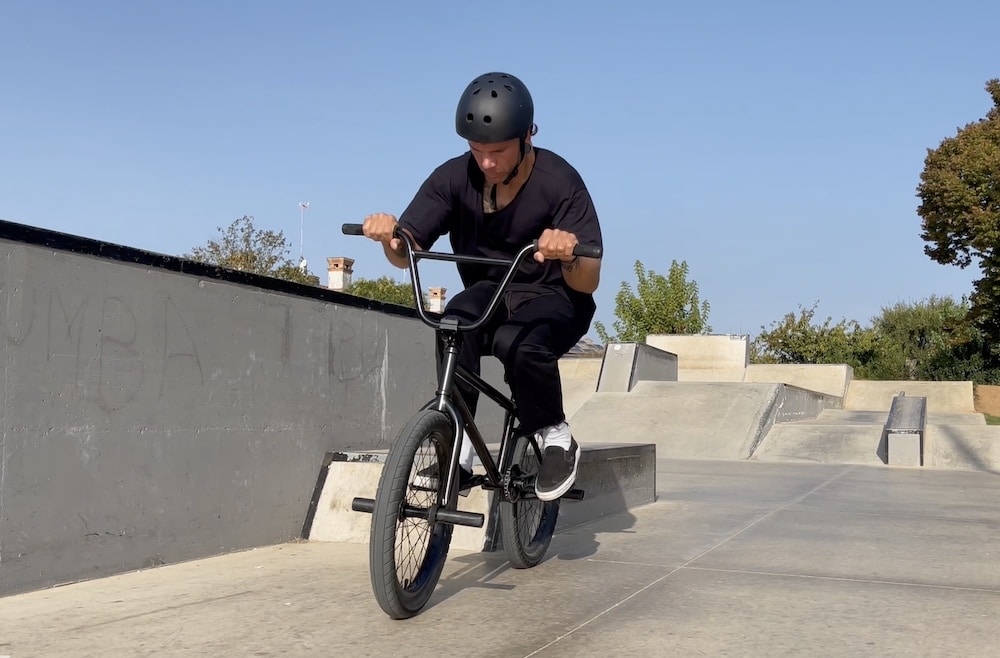
Land both wheels simultaneously, bend your knees to absorb the impact, and ride away smoothly.
Pro tip: Learning how to jump over the handlebar (like in the case of a nose manual) will make you more confident in learning a toothpick because you lower the chance of crashing.
Step 8. Practice
Like any BMX trick, repetition is key. The more you practice, the more confident and smooth your toothpick grinds will become.
Important: Don’t RUSH!
Step 9. Progression
Challenge yourself once you’ve mastered the toothpick grind on a lower ledge or rail.
Try grinding longer distances or moving to higher obstacles.
You can grind ledges and rails up or down.
But two of my favorite combos are: 1) Toothpick grind to over crank arm grind and 2) toothpick to hard 180.
Step 10. Watch & Learn
Watching seasoned BMX riders, whether in person or in videos, can provide valuable insights.
And that’s why I created a video to demonstrate the toothpick from various angles.
See how they approach, balance, and exit the grind. Each rider might have their unique style or tip that can help you refine your technique.
Pro tip: Film yourself. Analyze and study your toothpicks and use video material to improve and progress faster.
Remember, every BMX rider progresses at their own pace.
Celebrate your successes, learn from your mishaps, and always enjoy the ride!
Conclusion: Master Toothpick Grinds!
Alright, BMX dude!
There you have it, the ins and outs of the toothpick grind.
Like every captivating BMX trick, it’s all about practice, balance, and a pinch of audacity.
It might be challenging initially, but the thrill of nailing that perfect grind is unmatched.
Even after 20+ years of riding BMX, every toothpick I pull excites me.
And hey, every scrape or stumble? Just consider it a badge of honor on your journey to mastering the BMX world.
So, keep those wheels spinning, embrace the learning curves, and most importantly, have a blast doing it.
Can’t wait to see you owning those grinds out there.
Ride on and stay awesome! 🤘
Further reading:
- How To Rail Ride On A BMX
- How To Icepick Grind On A BMX
- How To Double Peg Grind On A BMX
- How To Feeble Grind On A BMX
- 28 Common Beginner BMX Mistakes


