
Welcome to my easy, step-by-step beginner’s guide on how to rail ride on a BMX.
You’ve landed in the right spot if you are seeking to add another trick to your repertoire.
Rail riding is one of those awe-inspiring skills that can elevate your BMX game to NEW HEIGHTS (literally and figuratively!).
I still remember how scary it was for me – but I developed a simple process that will get you comfortable much quicker.

And NO, you don’t want to progress straight to jumping on a round rail, hoping your wheels will stay on it.
But before we dive in, remember – every BMX legend started with that first wobbly (rail)ride.
It’s all about the journey, the – yup – falls, the lessons, and the pure exhilaration of nailing it in the end.
This post covers:
Why Learn Rail Rides
Here’s why a BMX rider should consider mastering the rail ride:
1. Broadens Your Skillset
Every trick you learn in BMX contributes to a richer, more diverse skill set.
Adding more tricks to your arsenal makes you a more versatile and adaptable rider.
2. Street Credibility
Rail riding is one of those tricks that, when executed well, can earn you massive respect in the BMX community.
It showcases balance, precision, and confidence, all revered in the BMX world.
But, like I always say, it’s NOT about the others – you’re learning rail rides for YOURSELF!
3. Creativity & Expression
BMX isn’t just about athleticism; it’s also an art form.
Rail riding allows you to EXPRESS yourself creatively, using urban landscapes in unique ways that not every rider can.
4. Challenging & Rewarding
Rail riding is undoubtedly challenging. However, with that challenge comes immense satisfaction and a sense of accomplishment once you NAIL it.
Overcoming this hurdle can significantly boost your confidence.
5. Opens Up New Terrain
Once you’ve mastered the trick, urban settings transform into vast playgrounds.

Rails, (thin) ledges, and other similar structures become opportunities rather than obstacles.
6. Enhances Balance & Precision
Practicing rail rides can significantly ENHANCE your balance and precision, skills that are transferable to other tricks.
7. Safety
While it might seem counterintuitive, learning how to rail ride correctly can make you a safer rider.
You’ll become MORE aware of your body, your bike, and how to maneuver in tight or risky situations.
8. Personal Growth
Pushing yourself out of your comfort zone and learning something new contributes to personal growth.
You learn patience, resilience, and the value of perseverance.
9. It’s Just Plain Fun!
Let’s not forget the sheer joy and excitement of the sport.
Every new trick, including rail riding, adds excitement and fun to your BMX experience.
How To Rail Ride On A BMX (Step-By-Step Guide)
Here’s my step-by-step guide to get you started on mastering rail riding on a BMX:
| Step | Details |
| 1. Preparation | Practice riding on straight lines & ledges to build balance & control |
| 2. Find The Rail | Start with a low, smooth rail. Square rails are easier for beginners |
| 3. Approach | Ride at a moderate speed & ensure your approach is straight |
| 4. Bunny Hop | Hop onto the rail, landing your front wheel first, aligning the rear |
| 5. Balance | Keep weight centered, knees bent & adjust with arms & legs |
| 6. Stay Relaxed | Keep a firm grip but avoid tensing up |
| 7. Exit | Use a small bunny hop or ride off the end smoothly |
Step 1: Safety First
Always wear protective gear, including a helmet, knee, shin and elbow pads.
Ensure your BMX bike is in good condition with no loose parts. Check my complete BMX bike maintenance how-to, so it always rolls smoothly.
Step 2: Preparation
In my video above, you can see the whole progression from riding on a straight line to jumping on a round rail.
But here’s the text.
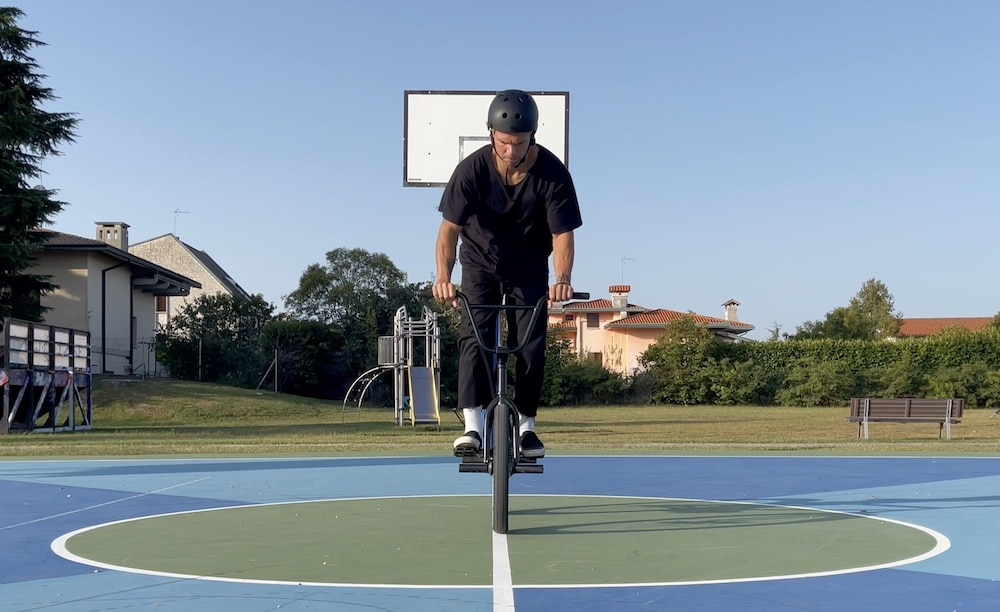
First, find a straight line on the ground. It could be a line on a basketball court, parking lot – it doesn’t matter. Try riding on it, working on your balance.
Second, do a small hop onto and off the line – the same as you’ll do when actually jumping on the rail.
This one helped me A LOT!
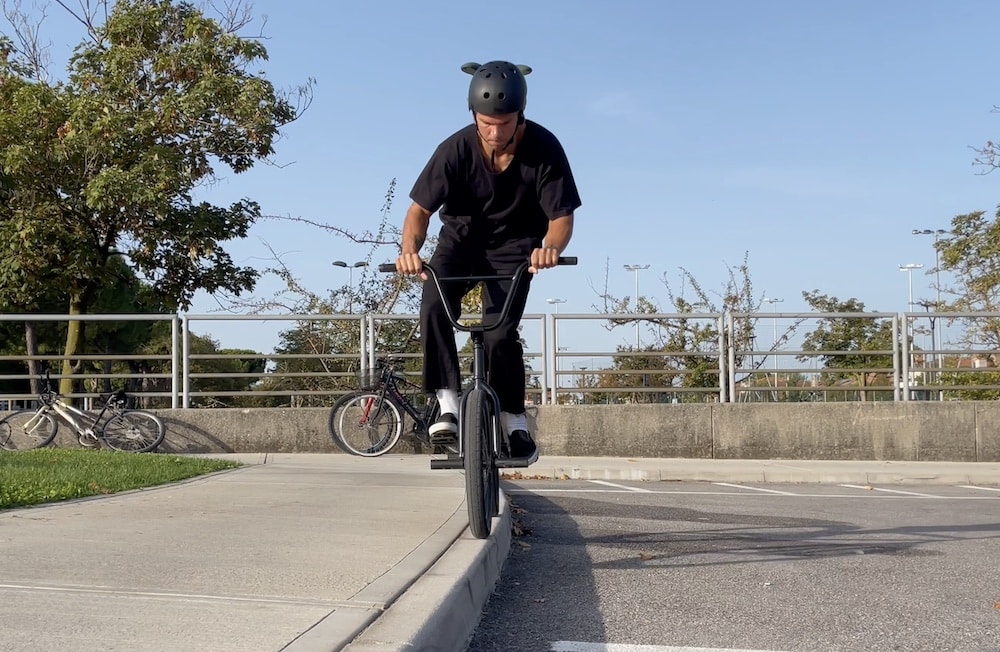
Third, find a curb. Pull your front wheel on, follow your back wheel and ride on the edge.
When you get comfortable, jump onto the curb’s edge, just like you did on the flat line.
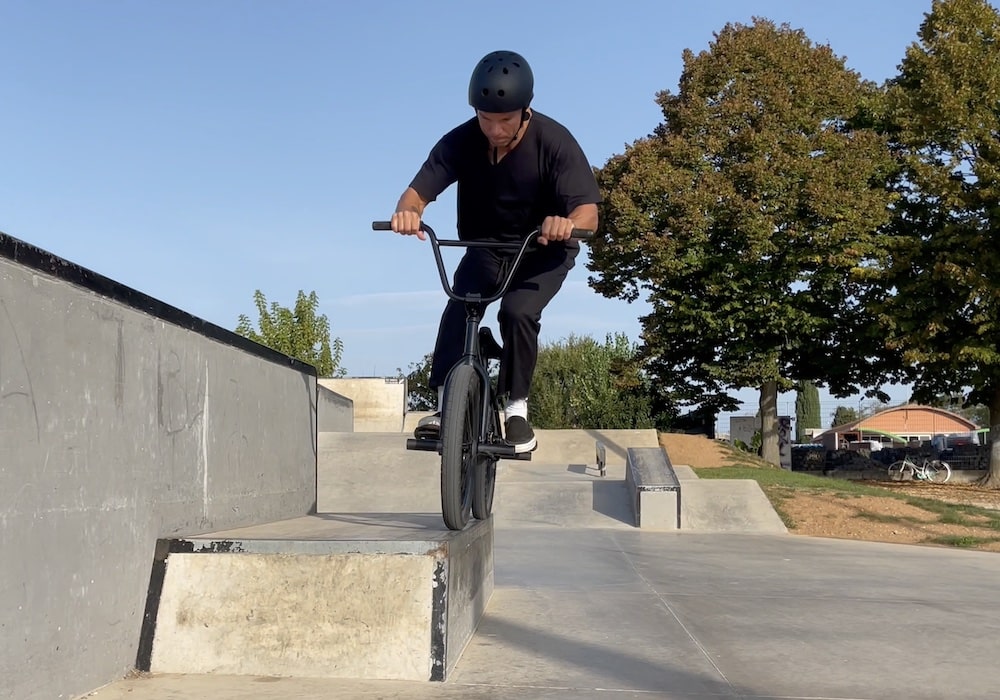
Fourth, find a flat ledge with coping. Your goal is to aim at jumping on the coping – riding at the edge of the ledge.
The lower the ledge, the better (it feels LESS scary).
Once you’re 100% comfortable with all the above preparation steps, it’s time to move to the rail.
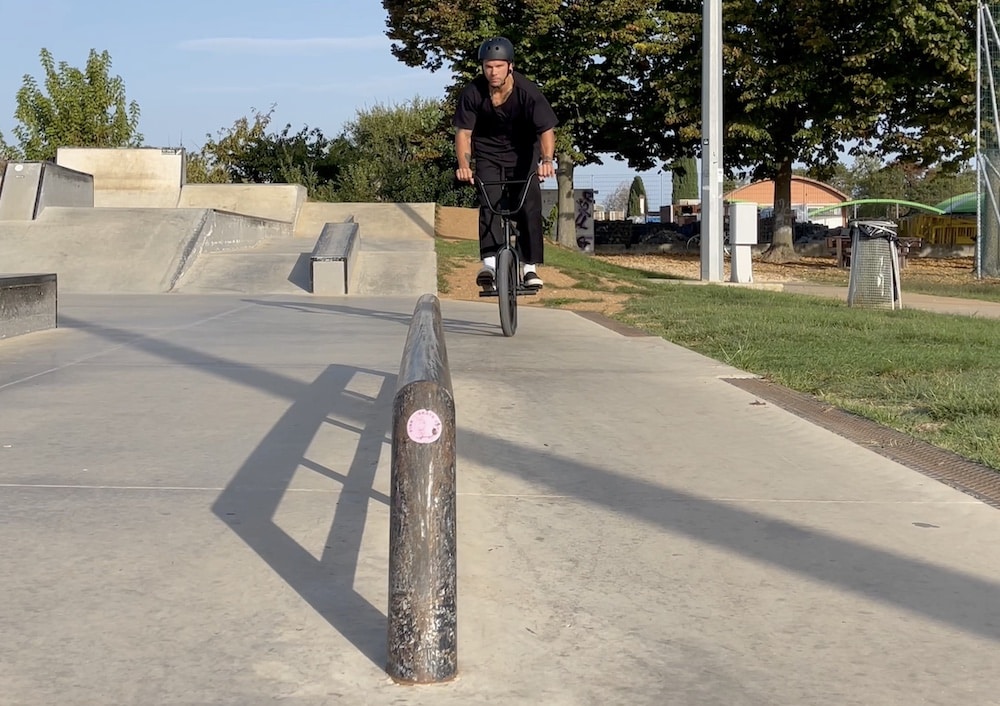
Step 3: Find The Rail
Find a straight, smooth rail to begin with. It’s essential to avoid kinks, rust, or any elements that might throw you off balance.
Start with a rail that’s lower to the ground to minimize the risk of injury.
Friendly tip: Start with a square rail – which feels similar to riding on the edge/coping of a ledge.
Also, look for a rail that has a decent run-up and exit.
Step 4: Start With Basics
Before attempting a rail ride, make sure you’re confident with other basic skills, such as bunny hopping and manualing.
What I also found very useful for getting comfortable is doing a feeble grind on a rail first.
Here are my extensive tutorials for:
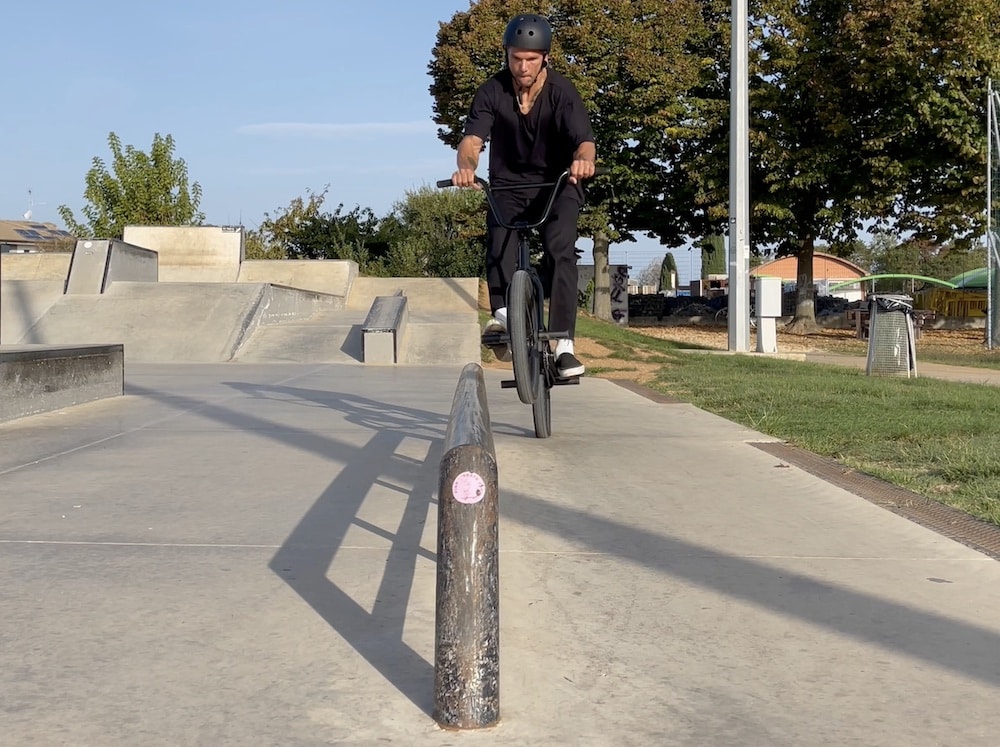
Step 5: Approach The Rail
Let’s GO!
Approach the rail at a moderate speed – not too fast, not too slow.
You’ll later find that balancing on a rail with more speed it EASIER – but stick to less speed when learning rail rides.
Ensure you approach the rail parallel (or at a slight angle), which will help with balance and alignment.
Step 6: Bunny Hop Onto The Rail
As you approach the rail, perform a bunny hop.
What works best for me is landing with the first wheel first and then align the rear wheel. (I never land a rail ride with both wheels simultaneously.)
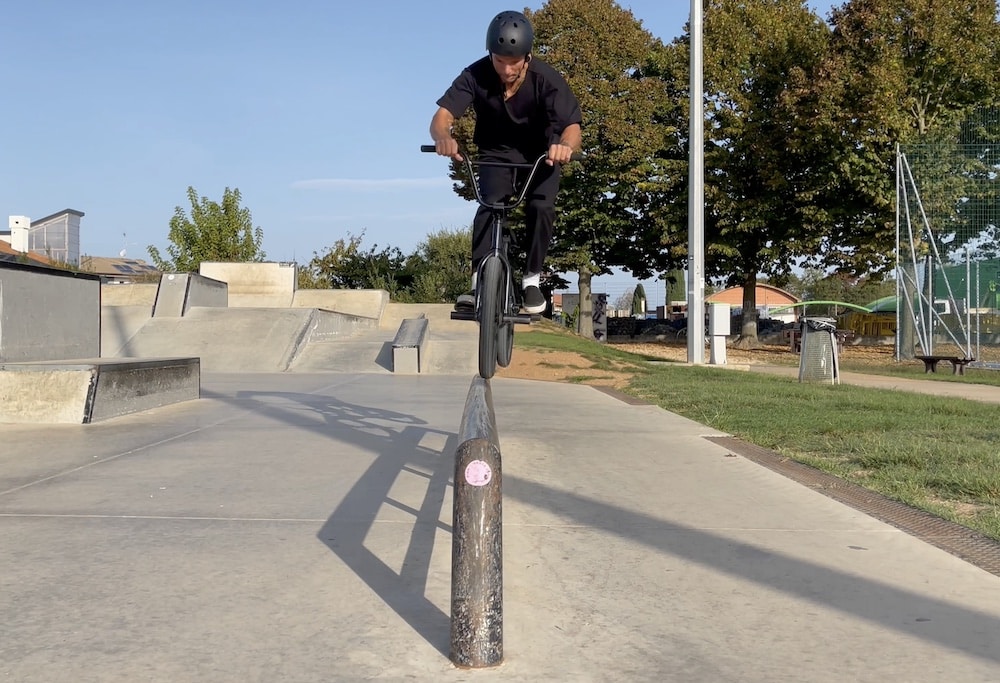
This will help maintain balance throughout the rail ride.
Make sure your pedals are level with the ground when you land.
Step 7: Maintain Your Balance
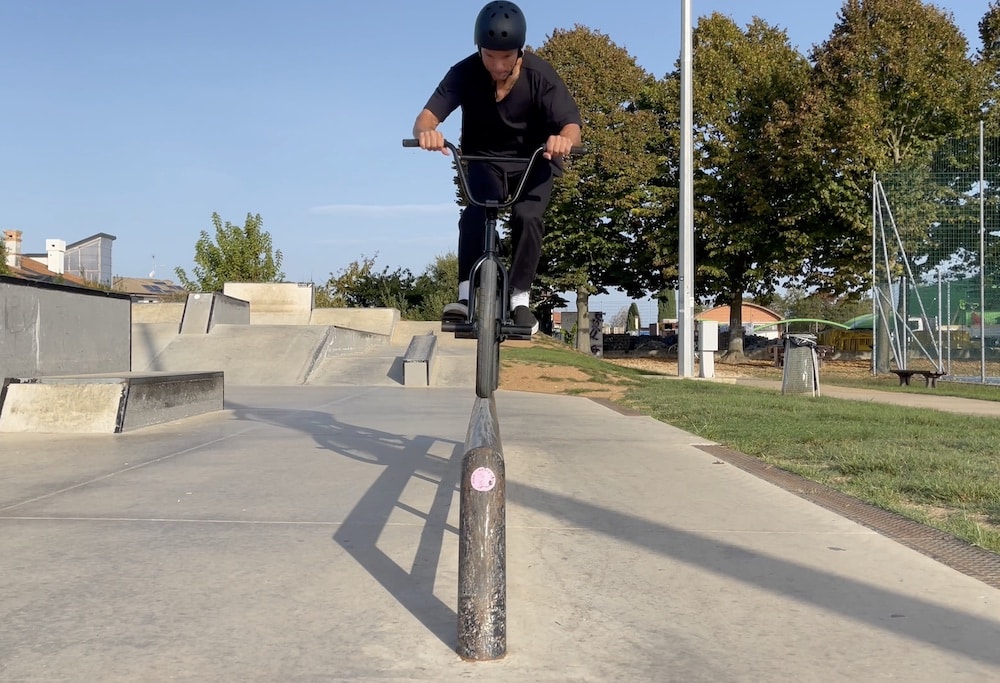
Keep your weight CENTERED over the bike – keep your knees slightly bent.
Look in front of your front wheel, in the direction where you want to go, not directly down at the rail.
Use your arms and knees to make micro-adjustments to stay balanced.
Pro tip: Doing a rail ride with all four pegs feels much safer. Why?
You will likely land on the peg and not go straight to the ground – which is especially helpful on higher rails.
Step 8: Stay Relaxed
Keep a firm grip on the handlebars, but avoid tensing up. A rigid body is more complicated to balance.
Step 9: Exiting The Rail
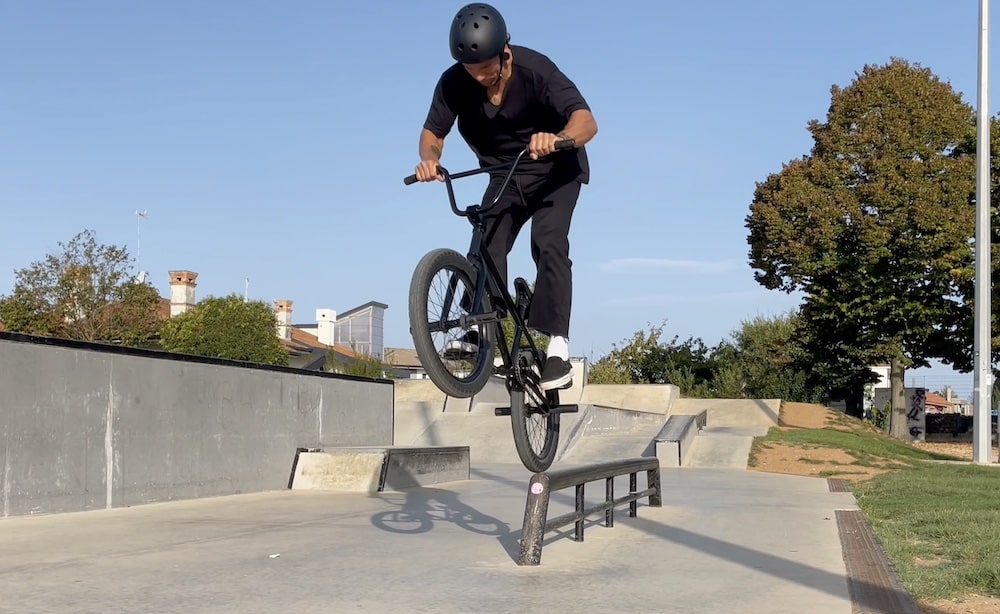
As you approach the end of the rail, prepare to exit by shifting your weight slightly backward.
Use a small bunny hop or simply ride off the end, depending on the rail’s height and your comfort level.

Land with both wheels simultaneously (or slightly rear wheel first) and bend your knees to absorb the impact.
Step 10: Practice
Start with shorter rails and gradually move to longer ones as you gain confidence.
Practice makes perfect, so expect to fall a few times. That’s all part of the learning process.
But you’ll greatly MINIMIZE the falls and inconveniences if you follow my above guide.
Step 11: Analyze & Adjust
If you’re having trouble, consider what might be going wrong.
Maybe you need more speed, or perhaps you’re not hopping high enough.
Adjust one element at a time until you find the right combination for success.
What helps me is to film myself and then analyze and study the clip to see where I need to improve.
Remember, rail riding is a skill that demands patience and persistence.
Don’t be discouraged by initial failures. Celebrate small victories, and before you know it, you’ll be effortlessly gliding down rails like a pro.
Conclusion: Master Rail Rides!
You’ve taken the plunge into the exhilarating world of rail riding, a journey filled with highs, lows, and undoubtedly a few scrapes along the way.
But REMEMBER, every scrape is just a badge of honor, a testament to your determination and passion.
As you venture out to conquer those rails, always remember the sheer joy and thrill that BMX brings into your life.
Stay patient (take small steps, don’t rush!), be persistent, and above all, have a BLAST.
Because at the end of the day, BMX is not just about nailing the trick; it’s about the friendships forged, the memories made, and the incredible stories you’ll have to share.
Until our paths cross at the next rail, ride safe and ride on! 🤘
Further reading:
- How To Double Peg Grind On A BMX
- How To Smith Grind On A BMX
- How To Icepick Grind On A BMX
- 16 Amazing Health Benefits Of BMX
- 28 Common Beginner BMX Mistakes


